DIY Modern Farmhouse Bench
I’m so excited to be sharing my first of many DIY builds with you! This bench was really fun to build, and I learned some new techniques like pocket-holes and bevel cuts. It turned out so well! In this blog post, I’m sharing all the details of the build with you, from inspiration pics to the cut list and the products I used to build this bench.

I’ve always wanted somewhere to sit in our principal bedroom, whether it’s a chair or bench or stool, and I thought this narrow bench would fit perfectly into our space and we could infuse some French Rustic Countryside charm into it. I will be making over Topher’s dresser soon and I plan to use the same colours and techniques to finish it so that the bench and dresser tie together.

So without further adieu, let’s get into this build!
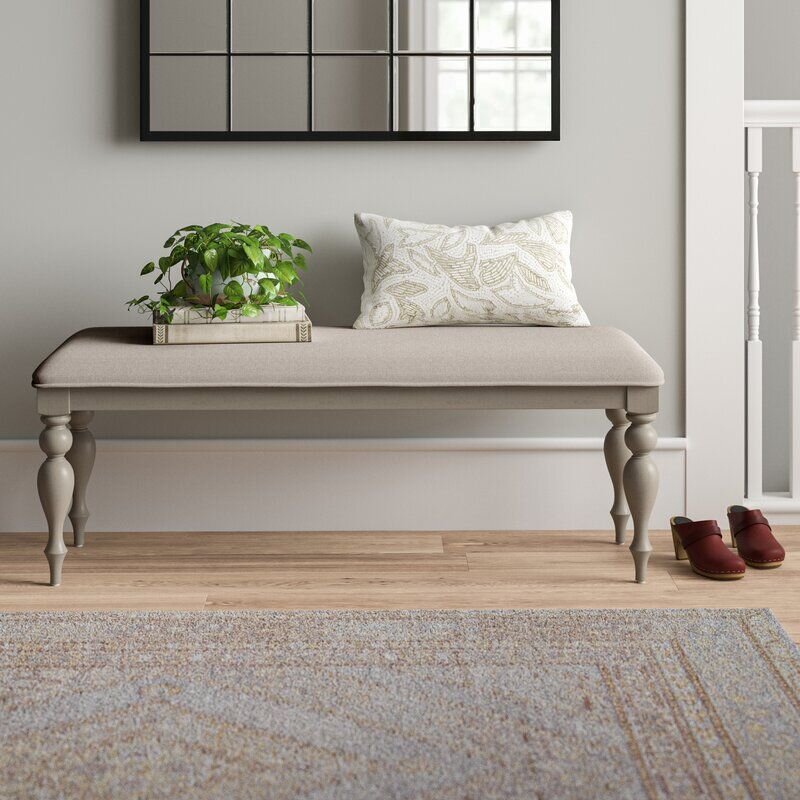
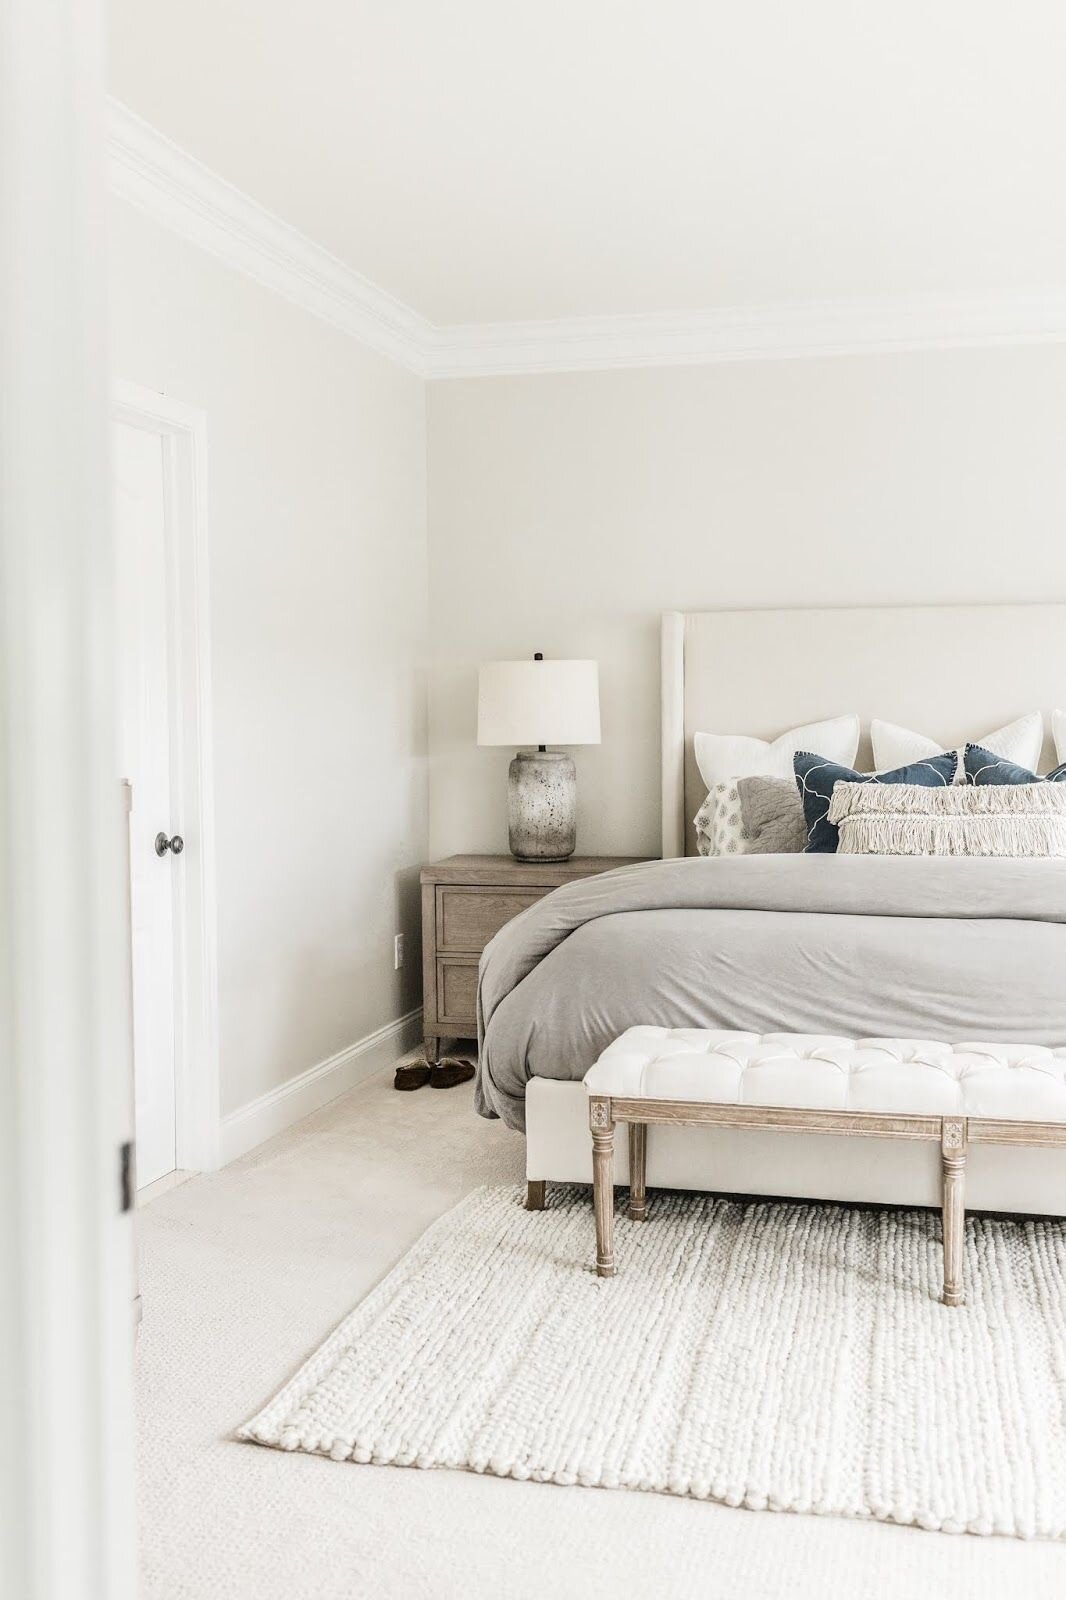
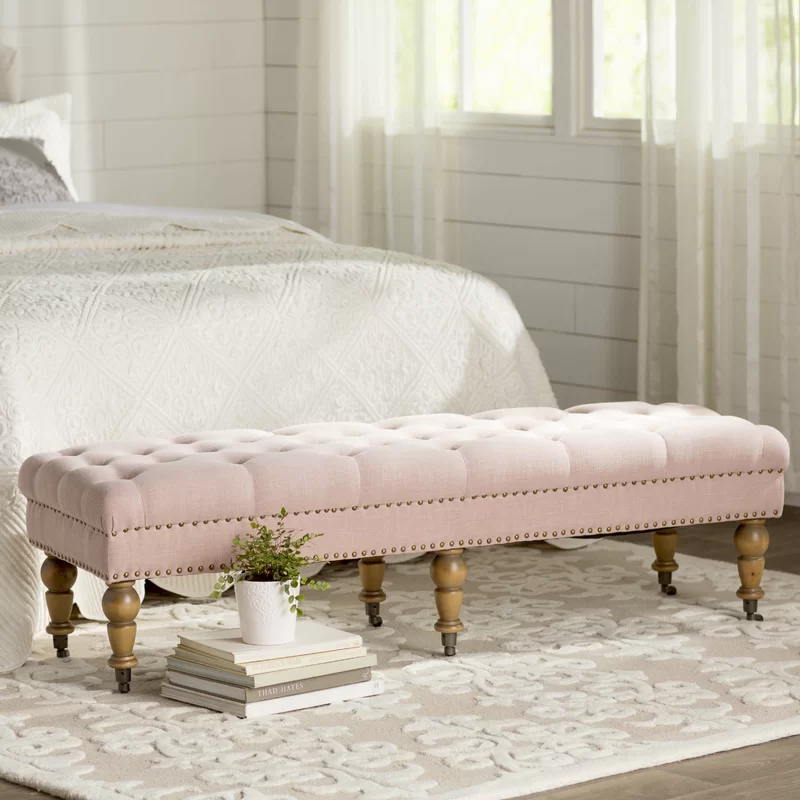
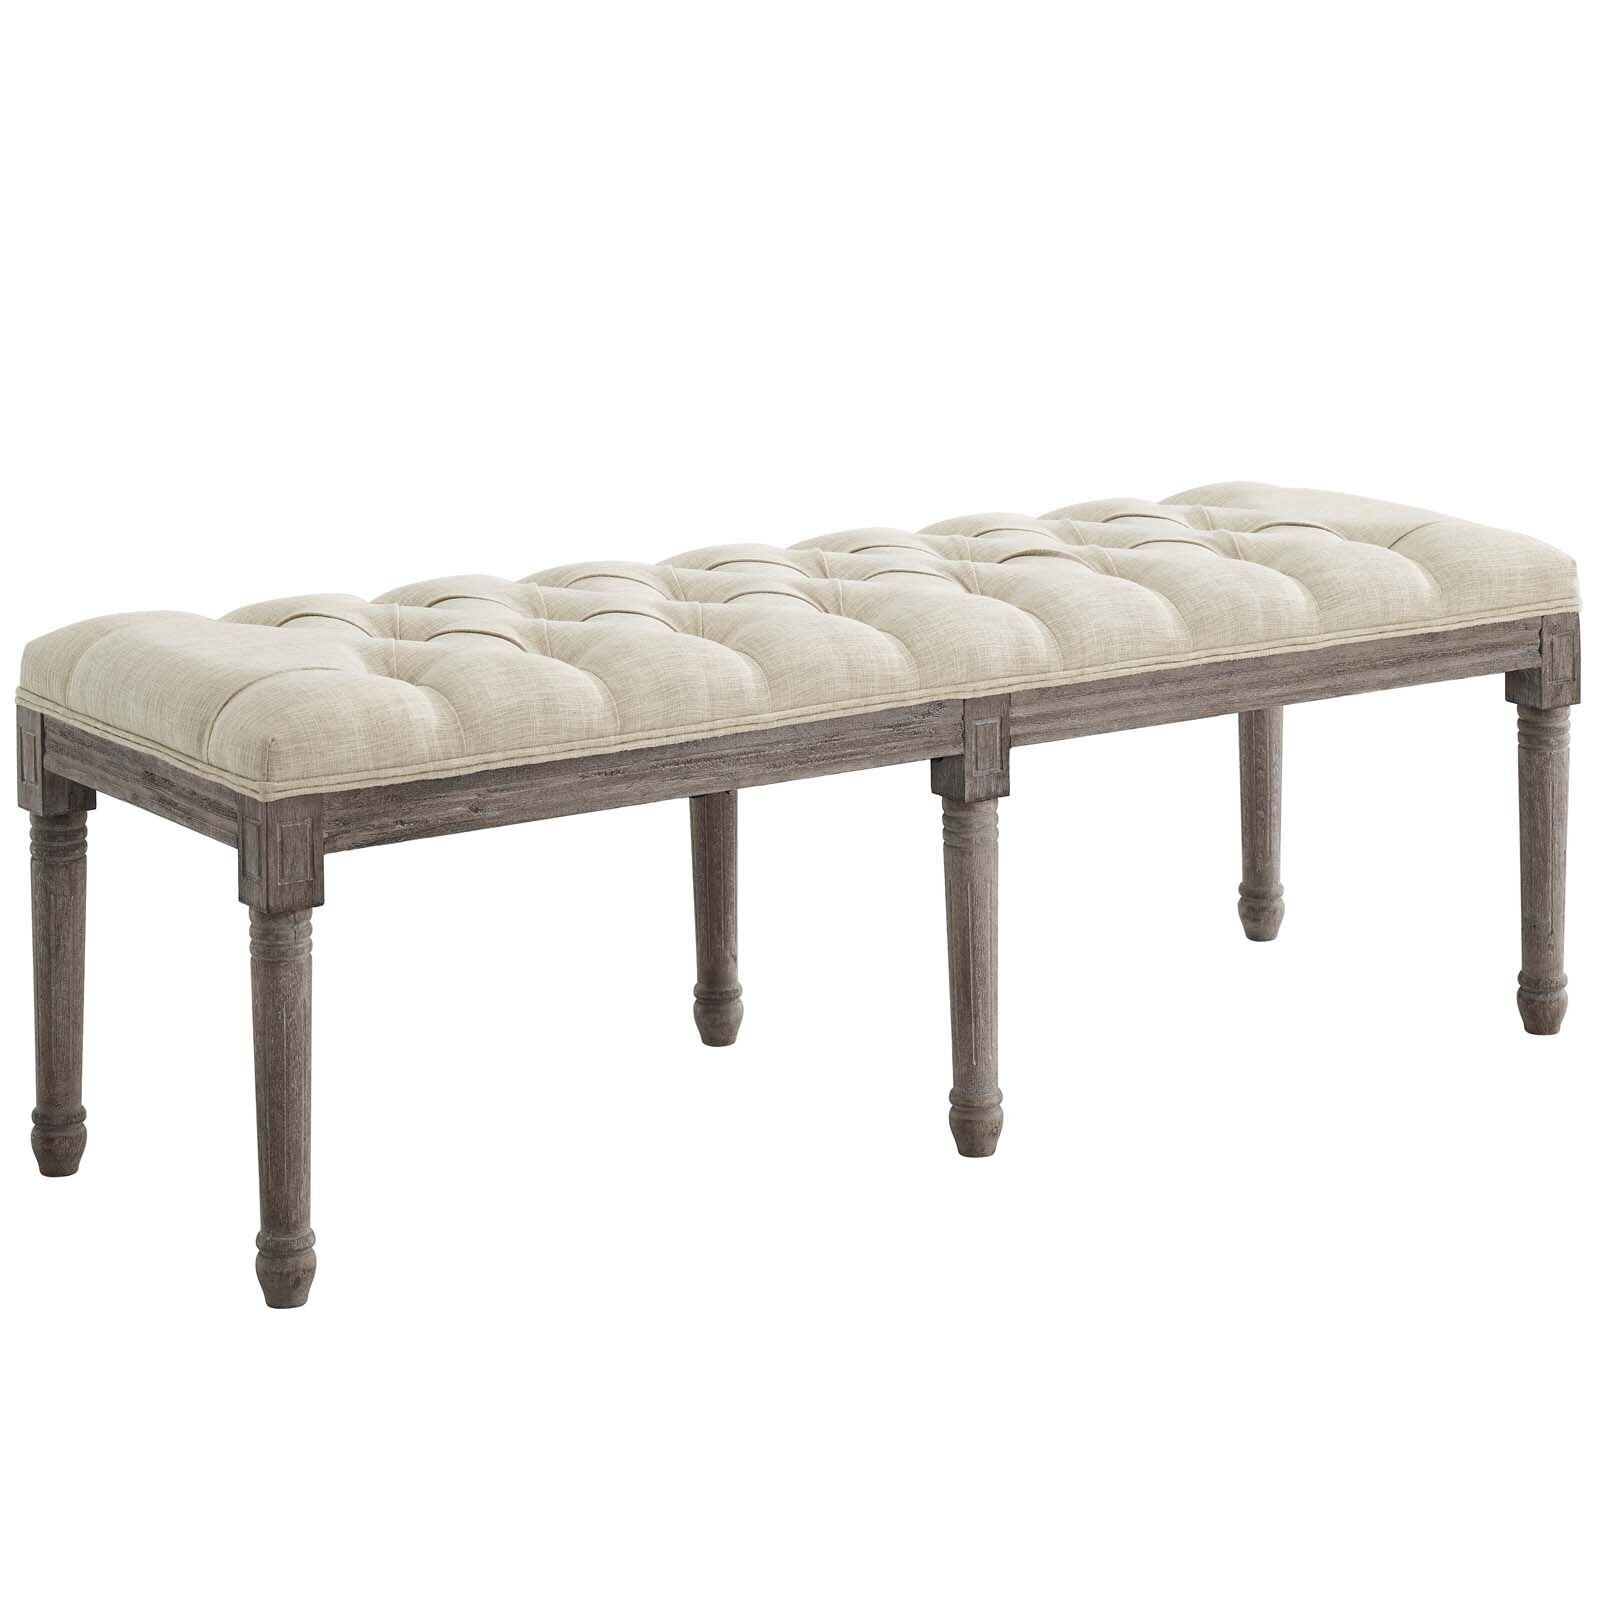
Inspiration
The inspiration for this bench was farmhouse modern. Instead of keeping the wood its natural colour, I opted for painting it simply white, to avoid having too many different wood tones in our bedroom. Our plan is to have white bedside tables and to upcycle Topher’s dresser and paint it white (I think!) so that there’s a cohesive colour palette and light, airy, relaxing feel in our bedroom. You can see the images below for what I was thinking and my inspiration for this build.
Materials:
For this build, I used:
2 pieces 2x2x8 Spruce Pine Framing Lumber
2 pieces 1x2x8 Framing Lumber
4 turned legs
2 pieces 1x6x8 Knotty Pine
Sandpaper or Orbital Sander
Foam and fabric, if you’re making a cushion or a premade cushion
White paint (I used Simply White by Benjamin Moore)

Cut List:
1x6s cut down 2 pieces to 40.5 inches or 3.3 feet long
2x2s cut down 2 pieces to 3 feet long
2x2s cut down 2 pieces to 7 inches long
1x2s cut down 2 pieces to 3.5 feet long (I made these 45º Bevel Cuts using my Mitre Saw)
1x2s cut down 2 pieces to 1 foot long (I made these 45º Bevel Cuts using my Mitre Saw)
Legs cut down to 1.5 feet tall
Shop The Post


Make it like so:
Sand all your cut pieces to smooth them out, especially the edges that you’ve cut.
Glue your 1x6s together using a thin line of wood glue. Clamp those two pieces together using a trigger clamp and leave it to dry.
Using a Kreg Jig, make two pocket holes in the bench seat to connect the two 1x6 pieces together. I spaced the pocket holes about a foot from the end of the bench seat.
Mark your support pieces and legs. I like to label each piece with 1, 2, 3, 4 and A, B, C, D and mark the corresponding piece on the bench seat. For example, I placed the legs in each corner of the seat, made a pencil mark where each leg went, then placed each of the 2x2s in between the legs.
Once you’re sure the framing pieces and legs fit, glue the legs to the benchtop and leave them to dry. Then predrill your screw holes from the top of the bench seat through the legs. Screw with 2-inch screws.
Flip your table over, so the legs are up and place on a solid surface, either the floor or workbench. Apply a thin stripe of wood glue to each of the 2x2s and glue them to the bench, in between the legs. They should fit snuggly. Leave to dry, clamp if desired.
Taking your bevelled cut 1x2s, line them up along the exterior of the bench and line them up with your 2x2s. Apply a line of glue to each 1x2 and glue to the corresponding 2x2. Clamp to hold in place until the glue dries. Once the glue is dried, predrill your screw holes from the inside of the bench on the 2x2s and then using 2-inch wood screws, screw the two boards together. See the image above. The point of the facing boards is to hide the underpinnings, so you want to avoid screwing the facing boards in from the front.
Fill in any screw holes that are showing (i.e. the holes on the top of the bench seat) with wood filler. Let dry. Sand down the wood filler and any rough parts of the bench. Wipe it all down to get rid of any dust.
Paint or stain your pieces. I used Simply White by Benjamin Moore. Apply two coats of paint.
Using sandpaper or an orbital sander, buff out your bench. Focus on sanding the “high points” aka the corners, edges, pointy-out bites, focus as well on sanding any knots or imperfections in the wood to bring more character and life into your piece.
Wipe down your bench with a damp cloth to get rid of any sawdust. If you’d like, top your bench with a cushion or just add a throw. It also looks beautiful, just as a painted wood bench.